css Helper
The css helper - hono/css - is Hono's built-in CSS in JS(X).
You can write CSS in JSX in a JavaScript template literal named css. The return value of css will be the class name, which is set to the value of the class attribute. The <Style /> component will then contain the value of the CSS.
Import
import { Hono } from 'hono'
import { css, cx, keyframes, Style } from 'hono/css'import { Hono } from 'https://deno.land/x/hono/mod.ts'
import { css, cx, keyframes, Style } from 'https://deno.land/x/hono/helper.ts'css Experimental
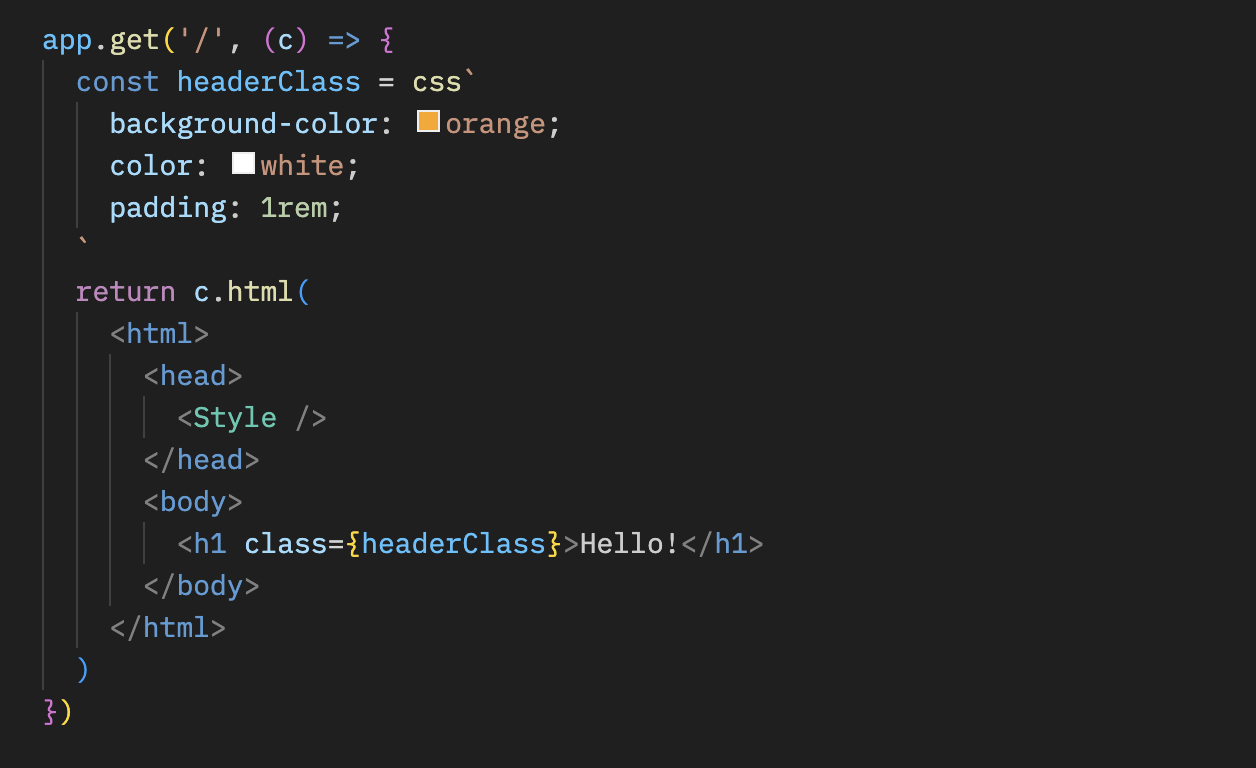
You can write CSS in the css template literal. In this case, it uses headerClass as a value of the class attribute. Don't forget to add <Style /> as it contains the CSS content.
app.get('/', (c) => {
  const headerClass = css`
    background-color: orange;
    color: white;
    padding: 1rem;
  `
  return c.html(
    <html>
      <head>
        <Style />
      </head>
      <body>
        <h1 class={headerClass}>Hello!</h1>
      </body>
    </html>
  )
})
You can style pseudo-classes like :hover by using the nesting selector, &:
const buttonClass = css`
  background-color: #fff;
  &:hover {
    background-color: red;
  }
`
Extending
You can extend the CSS definition by embedding the class name.
const baseClass = css`
  color: white;
  background-color: blue;
`

const header1Class = css`
  ${baseClass}
  font-size: 3rem;
`

const header2Class = css`
  ${baseClass}
  font-size: 2rem;
`
In addition, the syntax of ${baseClass} {} enables nesting classes.
const headerClass = css`
  color: white;
  background-color: blue;
`
const containerClass = css`
  ${headerClass} {
    h1 {
      font-size: 3rem;
    }
  }
`
return c.render(
  <div class={containerClass}>
    <header class={headerClass}>
      <h1>Hello!</h1>
    </header>
  </div>
)
Global styles
A pseudo-selector called :-hono-global allows you to define global styles.
const globalClass = css`
  :-hono-global {
    html {
      font-family: Arial, Helvetica, sans-serif;
    }
  }
`

return c.render(
  <div class={globalClass}>
    <h1>Hello!</h1>
    <p>Today is a good day.</p>
  </div>
)
Or you can write CSS in the <Style /> component with the css literal.
export const renderer = jsxRenderer(({ children, title }) => {
  return (
    <html>
      <head>
        <Style>{css`
          html {
            font-family: Arial, Helvetica, sans-serif;
          }
        `}</Style>
        <title>{title}</title>
      </head>
      <body>
        <div>{children}</div>
      </body>
    </html>
  )
})
keyframes Experimental
You can use keyframes to write the contents of @keyframes. In this case, fadeInAnimation will be the name of the animation
const fadeInAnimation = keyframes`
  from {
    opacity: 0;
  }
  to {
    opacity: 1;
  }
`
const headerClass = css`
  animation-name: ${fadeInAnimation};
  animation-duration: 2s;
`
const Header = () => <a class={headerClass}>Hello!</a>
cx Experimental
The cx composites the two class names.
const buttonClass = css`
  border-radius: 10px;
`
const primaryClass = css`
  background: orange;
`
const Button = () => <a class={cx(buttonClass, primaryClass)}>Click!</a>
It can also compose simple strings.
const Header = () => <a class={cx('h1', primaryClass)}>Hi</a>Tips
If you use VS Code, you can use vscode-styled-components for Syntax highlighting and IntelliSense for css tagged literals.